Monday, April 19, 2010

The Master Bath

The master bath was one of the biggest transformations in the whole house.  We started with a garden tub, a shower, two vanities and a toilet.  We ended up with most of that again, just much, much cleaner.  This was the initial.
And the dirty shower was to your right when you walked in, where that red rug is.   I want you to keep in mind..someone showered in this...to GET clean.  Gross

I ripped out the tub, the shower, both vanities and started over. 
From this
to this

We ripped off that mirror and put up a wall, and viola, a tub/shower combo
We texturized, painted, laid flooring, and installed the cabinets.  I'm happy to say that I installed the cabinets and sinks, I helped put in the floor and I, by myself, built out where the old shower was into shelves.  I learned how to do this stuff by helping build my sister's house, renovating trailers, and by not being scared to mess it all up and start over.  You can do it too.  You really can. 
This is Zac's vanity
And mine
I just can't even believe how much better this place is now.  It's ridiculous.  Ridiculous really because someone else lived in it before and didn't care that it was bad.  Much better now, much, much better.

Coming up next will hopefully be the office.  I just have to get a little bit of time :)


Sunday, April 18, 2010

The Master Bedroom

This is the (almost) finished bedroom.  I am planning on making a headboard from one of the hollowcore doors we had left over.  Not sure what color to make it yet, but it will be awhile before I get to that project anyway.  Also, whe have no bed frame yet.  Our last one was broken, then the one I got at the re-sale store was missing a center rail so it just wasn't meant to be yet.  I will get one eventally. 
My wedding picture wall, they kinda look crooked in this shot, but I promise they aren't. 
The door leads into a narrow hall and into the kitchen.   The otherside of the wedding pic wall is the laundry room, behind the painting is Zac's largely unattractive closeet.

When you open that door, you get a direct view from the living room into the master bath and I'm just not sure I'm ok with that yet...it's quite open. 
My dresser is, well, I'm just not sure about it.  I like it much better in this house than my last one, but still not sure about the color.  I think it may go pea green.  But, oddly, the orange is much better when I see it backed by orange curtains.  Not sure if those will stay though since Zac is obsessed with mounting tvs.  he will probably want to rig this one all up like we did at the last house.  We shall see....
So that's my new bedroom.  It's looking good, there are a few more things I'd like to do, but I seem to have no time at all.  If I switch some stuff up.  I will let you all know :)

Saturday, April 17, 2010

The Kitchen/Dining Room

The kitchen was hideous to start with.  The cabinet are pressed sawdust board laminated with fake wood.  The laminate stuff is almost like a giant sticker or say....shelf liner.  It had been eaten away in some spots and chipped off others.  The cabinets were seriously bad looking.  But that curtain...lovely.
Now, the dining room looks like this. 


Somehow, whoever lived here before managed to pull the trim off of EVERY counter top.  This is what is under the trim.  Now, we have new countertops, cause really, what are you gonna do with that?
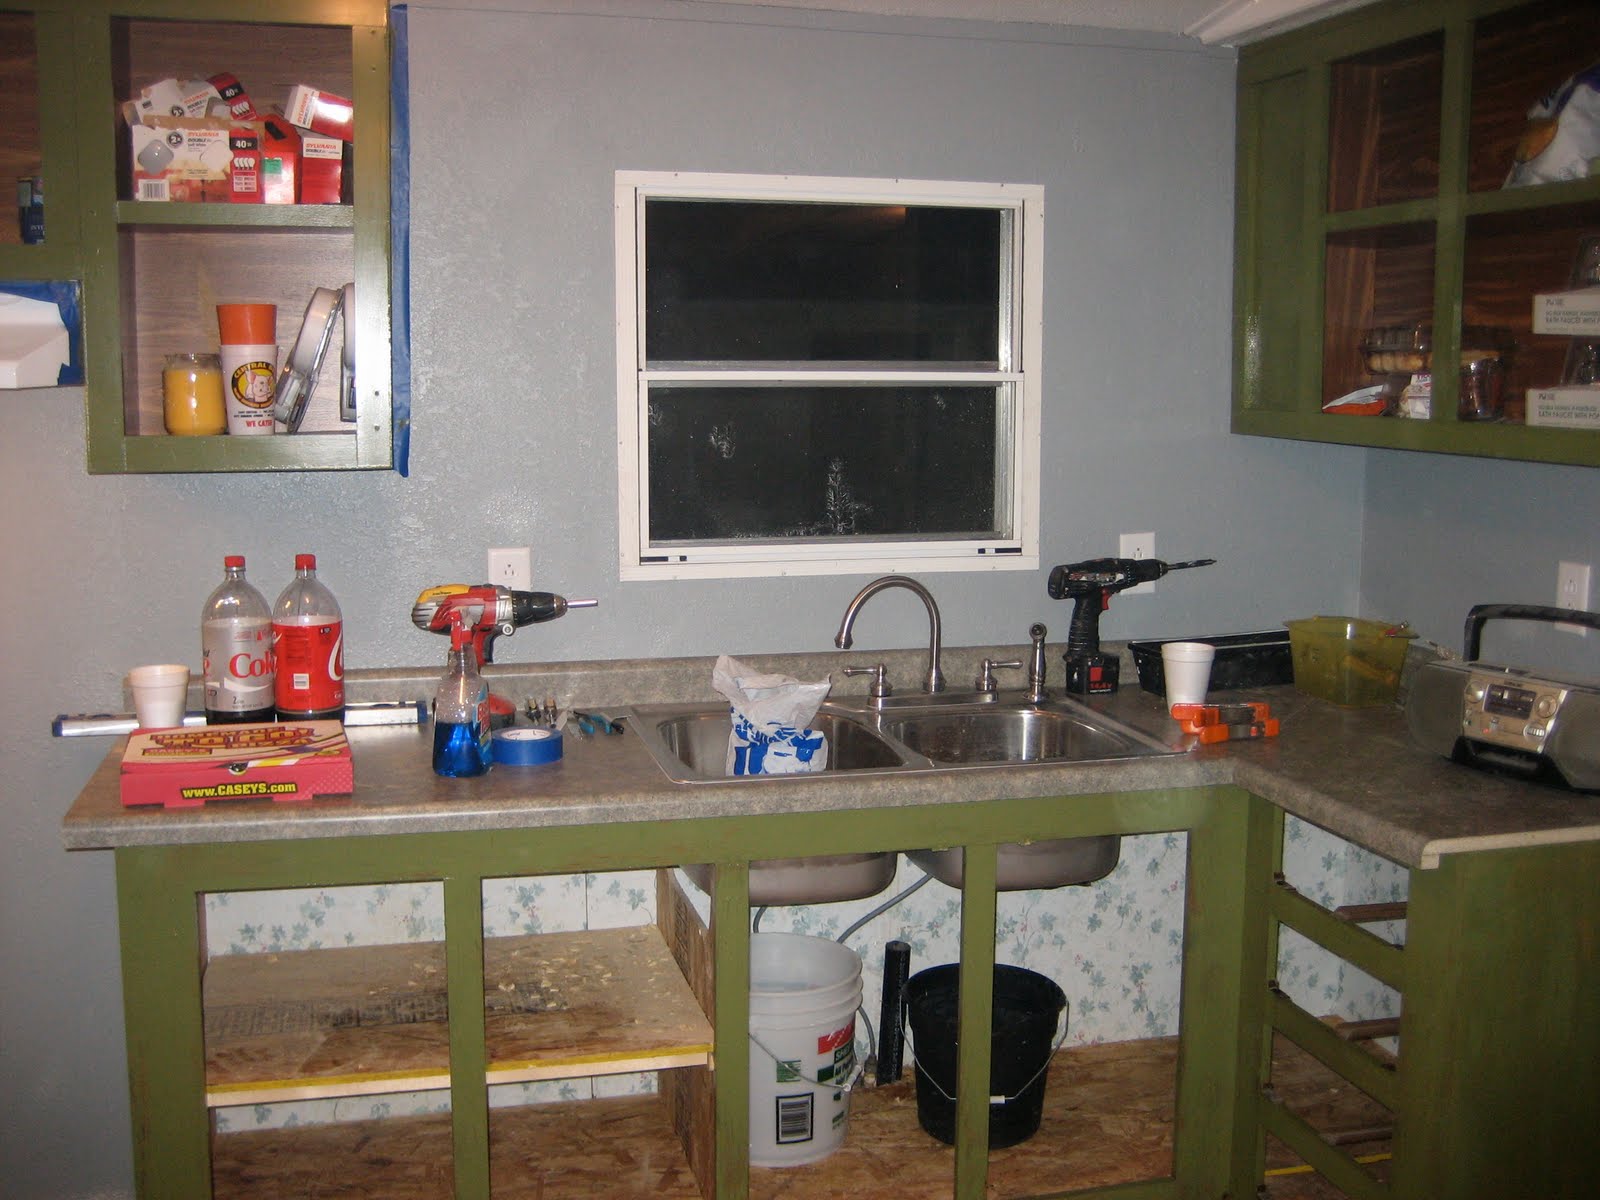
Another shot of the awful cabinets and the sink leak that rotted out the bottom of the cabinet.  It's ok though, they fixed it by putting a paper Ace Hardware bag over all the mold.  See the spotty cabinet doors, that's the laminate stuff eaten away in spots.  We ripped out the built in cabinet thing you saw on the right in the first picture, replaced the coutertops, rebuilt the shelves, put in a new sink, painted the cabinets.  
This is a shot of the new house, minus the funny halfwall thing (now I keep a wooden tote full of everything there) and with new countertops and painted cabinets.  We kept the old hardware, just spray painted it.  Paint makes a world of difference!


Friday, April 16, 2010

The Living Room

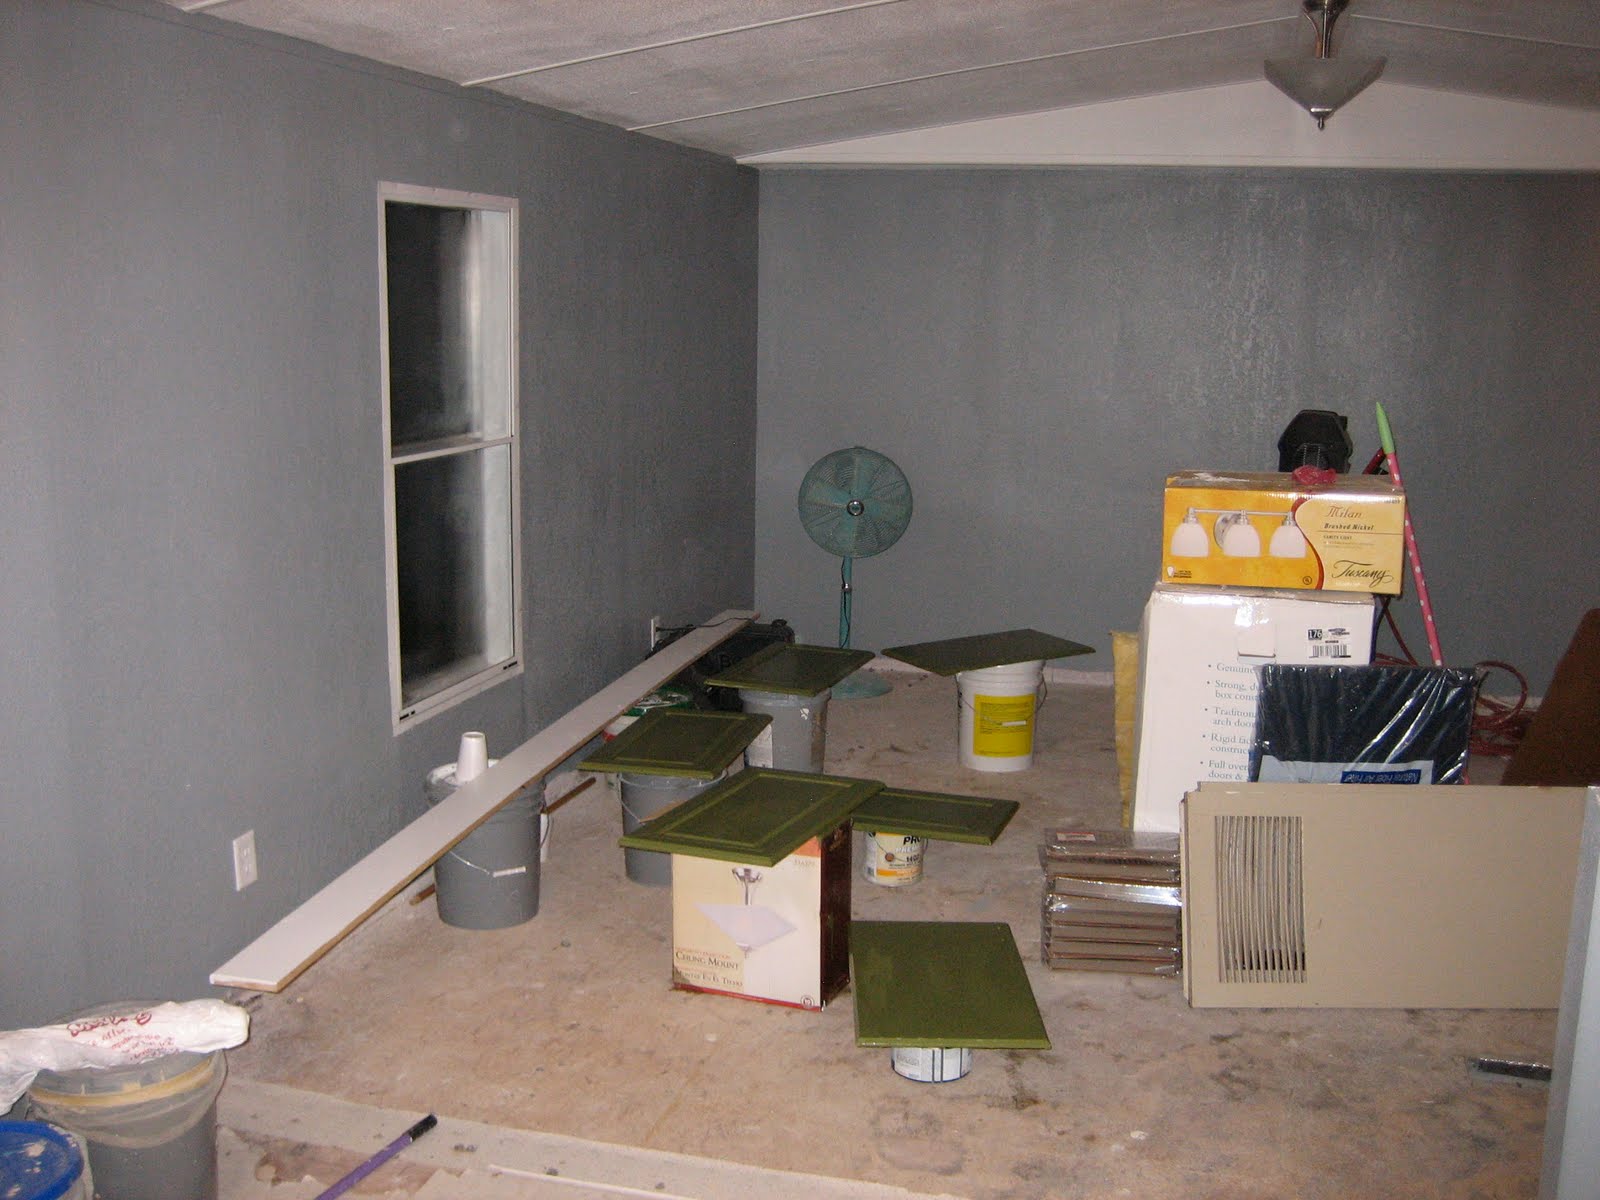
This is what we started out with.  I'm sure you love the mirrors and the chair rail complete with a maroon insert and gold trim.   I know I did.  (Mom suggested I pull off the mirrors and offer them up for sale to the new strip club in Neoga.  Sweet!)  From here, you get an idea of the layout of the trailer.  Down the hall the first room is the guest room, the second is the office and you saw how the hall runs right into the bathroom.  We did rip out the half wall thing on top of this countertop (you just see a little of it in the upper right hand corner of this pic)  When we started, it was still very cold and without heat, so that's why we have a salamander heater and a can of fuel. 
A close up of those lovely mirrors

And the lovely moldings.  Those strip things all over are actually where two pieces of the drywall come together.  Instead of finishing the seams like in a home, in trailers they just put up a thin piece of wood and finish nail it directly to the studs.  We ripped all those off, finished all the seams, and texturized the walls before we painted them.   I love this one because there is yet another outlet hanging by its wires.  Super safe, especially considering the people who owned this before me had young kids. 
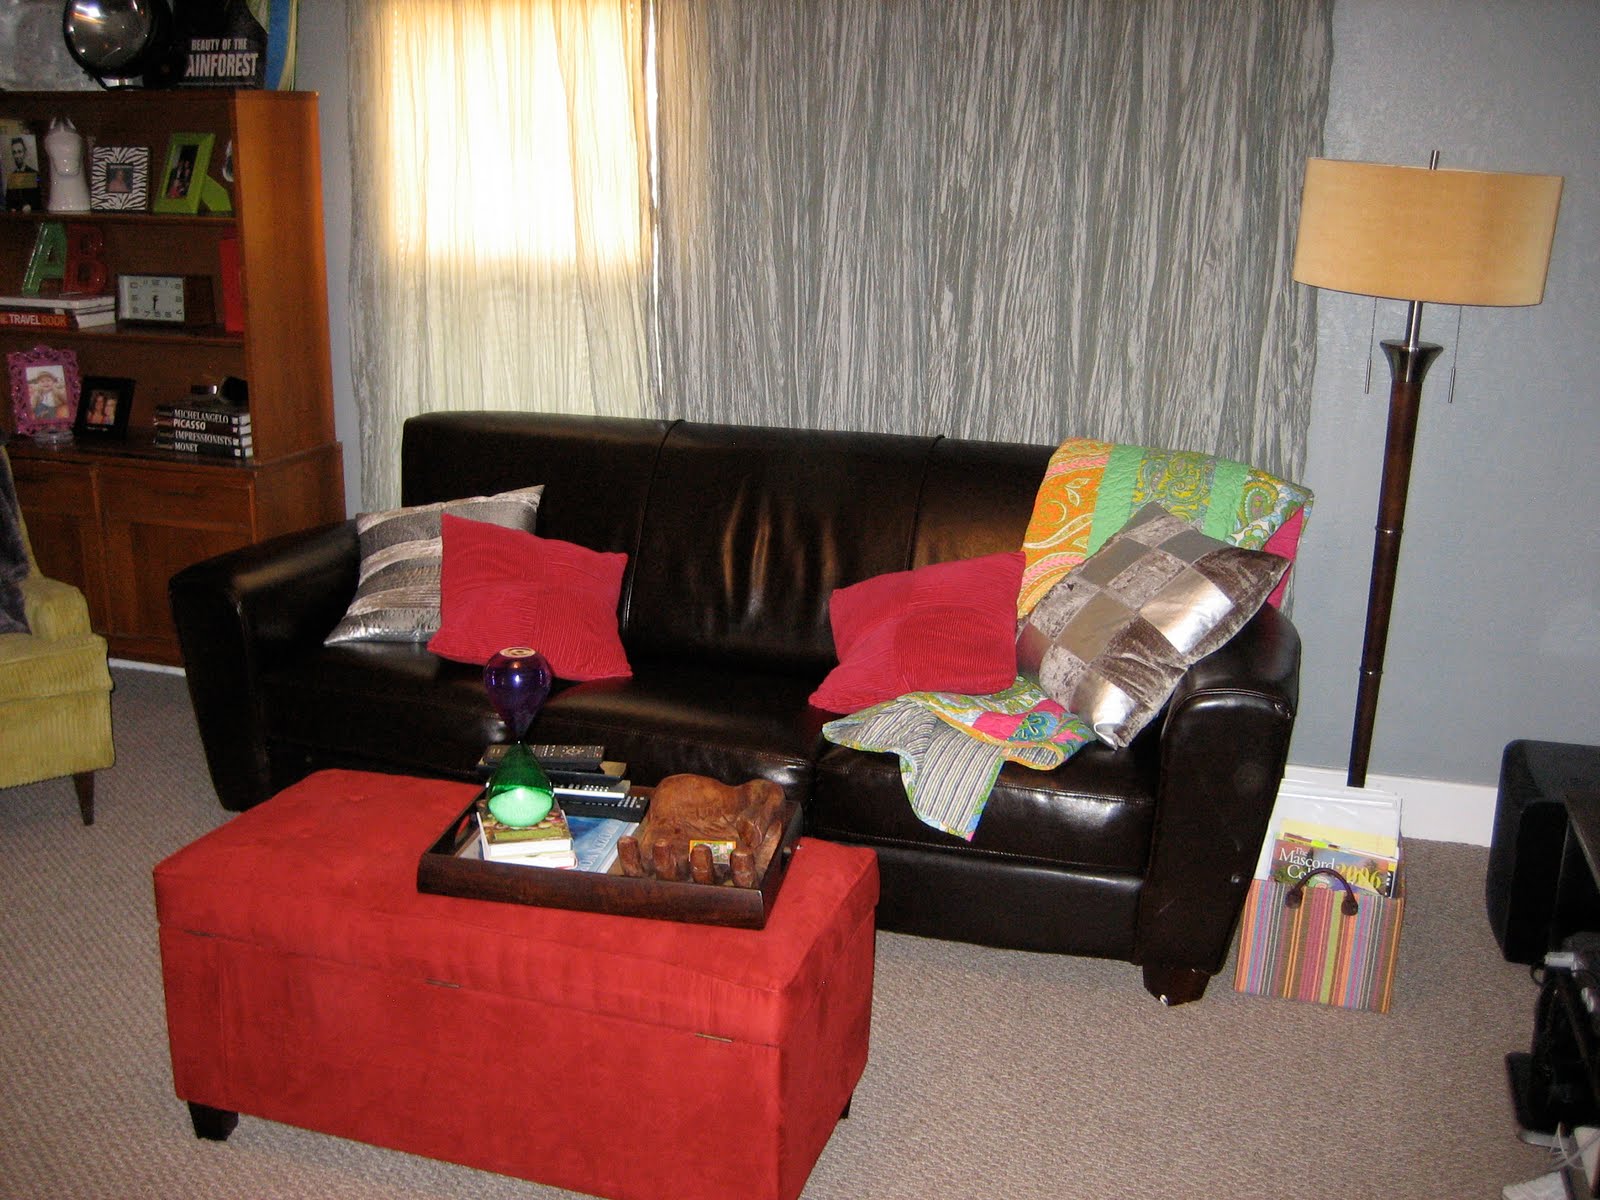
This is the room when you are standing in the front doorway.  Clearly I have extended my curtains to make the window look bigger and span the length of the couch.  I took these pictures in the morning, so it was full on sunny to the east.  You can't see the single window at night....honestly, you can't tell.  
And a little further to the left


When you are sitting on the couch, this is your view of the other side of the room.
More pictures are coming your way soon.  Get ready for the kitchen!

Thursday, April 15, 2010

The Guest Bath and the Hallway

The next thing I'd like to show everyone is the hallway and the guest bathroom.  I know these are rather unexciting as far as a big reveal goes, but they are the first things you see when you walk into my home. 

This was the bathroom before.  Not awful, just kinda gross.  I had to peel off the old silicone which was quite a chore.  Mom scraped at it over the course of 3 days and it still took me a few more hours.  We replaced the faucet, resiliconed the tub, laid new floor, replaced the mirror and rebuilt the toilet (thank you dear brother Kylie).  
The bathroom is so much better now.  Plus, I have a shower curtain with everyone of my wall colors in it.  I didn't plan that.  I just got lucky.

You see the drywall was all knocked in at the bottom.  It was like this through the whole house, so we had to put up trim everywhere and replaced 15 whole sheets.  This was the before complete with beautiful brown carpet.
We pulled up the carpet which had so much water damage the carpet pad was frozen to the subflooring, replaced the drywall, laid new floor, painted, trimed, changed the lighting and this was the result.  I chose white curtains so that it felt airy and didn't accentuate the narrowness of a hallway like darker/heavier curtains can.  Also, it keeps the hall very neutral, which is good, cause I have lots of color going on.  

Hope you like the house so far.  I am still working on the office, but hope to be able to show everyone how it turned out by this weekend.  Next up, the living room!

Wednesday, April 14, 2010

The Big Reveal: The Guest Room

I thought I would start the showing up my new house but starting with where you may end up staying, should you ever want to spend a weekend on the lake and not want to spring for a hotel. 

Without further ado.......THE GUEST ROOM 

This is a picture, or rather, a series of pictures to remind me what we started with.  This is the guest room, notice the giant hole in the wall under the window, just no drywalll there.  Not sure why, it's just not there.  Also, the hole to the right is where the outlet has literally fallen out of the wall.  
I also loved all this wall too.  Again, hanging outlet and there are large holes accompanied by a thousand, honestly, thousands of holes from thumbtacks and nails.  I can't even begin to tell you how frustrating it was to fill all those.
This is the midway photo (the walls are a minty green color which is neutral for now, but appropriate for a baby's room in a few years without having to repaint)
And the (again, mostly) finished product.
I need a shade for the lamp
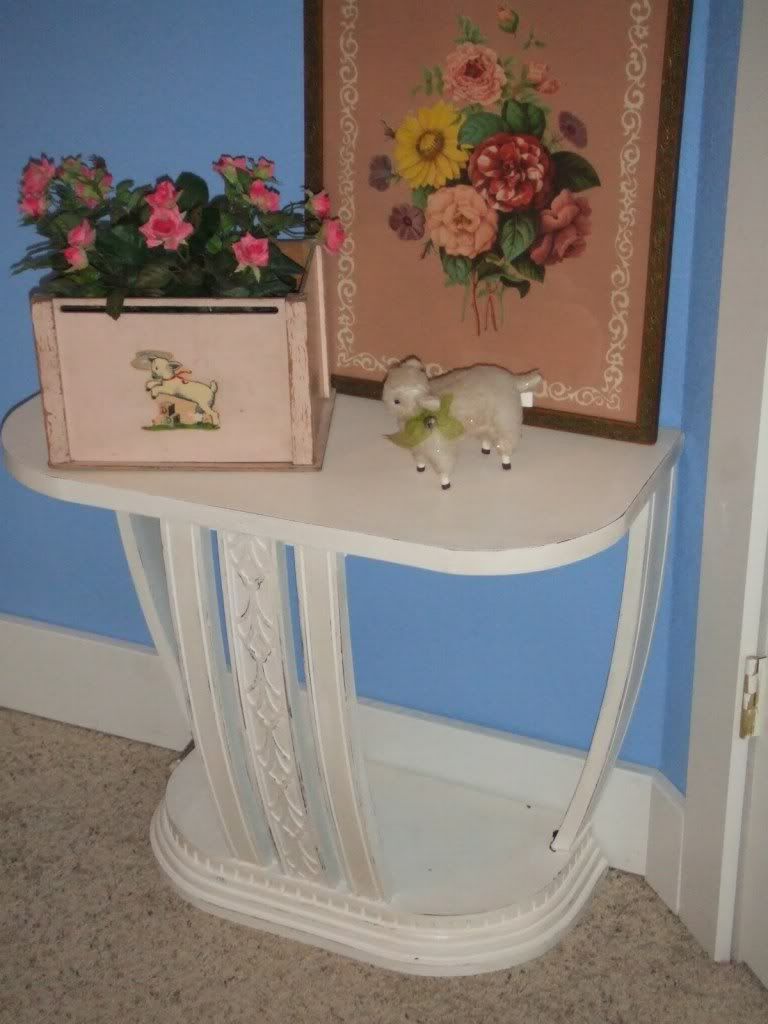
Need another frame, but didn't know I was getting a bed until we were moving.  I also need something more on that side table, but not sure what yet.
My two favorite Third Sunday purchases (probably ever) even though other people think I'm crazy and they are creepy.
I still have a few things to polish up, but this is a start. 


Tuesday, April 13, 2010

The trailer saga

You all know that I've been desperately working to finish up a trailer.  Its been a lot of hard work.  It really has.  Most people get to see just a finished product.  They don't get to see the room painted, but without trim, and with exposed light bulbs.  
They don't have to crawl around on their knees and get covered in drywall dust just to fill in all the little paintless divets in knockdown.

They don't have to stop halfway through the work day to be adjusted.
They don't have an AC unit in their kitchens.
They don't have 3 projects being worked on by 3 people in 1 bathroom, at the same time

They don't keep piles of stuff as an obstacle course in the living room
They also probably have cabinets that function and sinks that drain into pipes...not buckets.  
But I did.  I don't anymore.  You will shortly see what this "shitbox" (thanks to Zac for that one) has now become.  Get excited!
Related Posts with Thumbnails